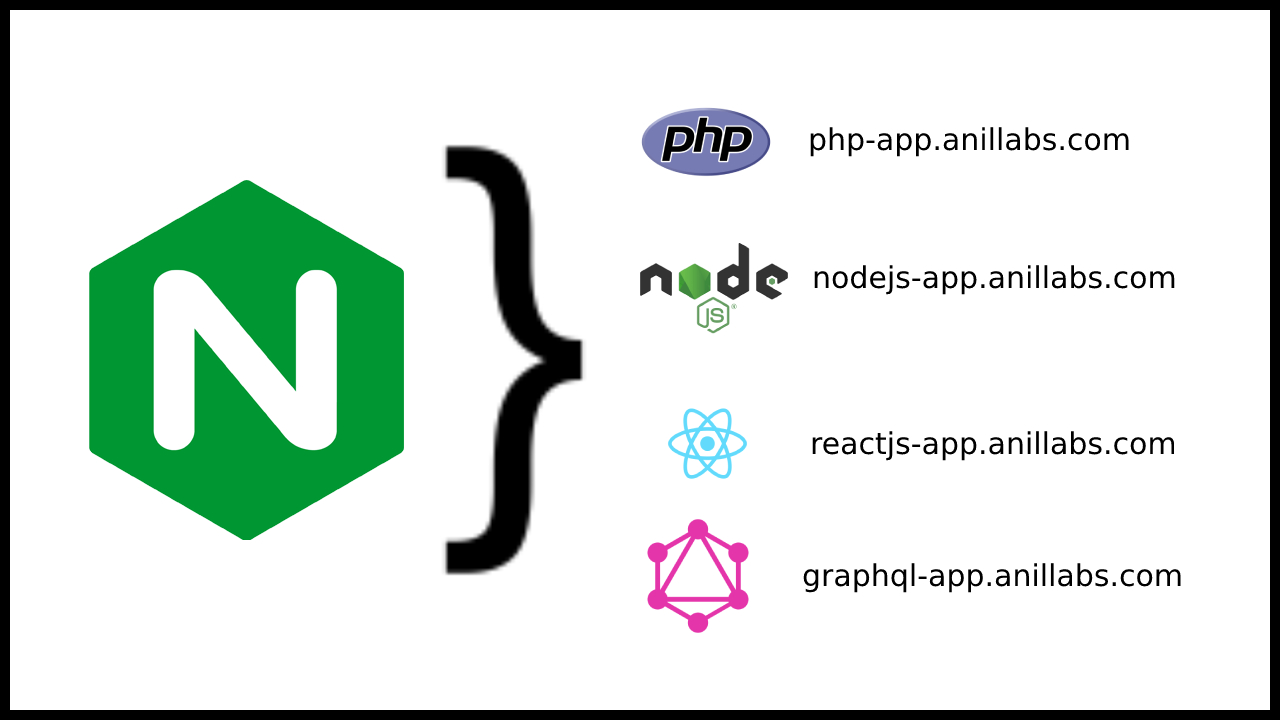
As I mentioned in the earlier post regarding the How to create virtual host for PHP and NodeJS applications, now in this post we will learn to how create the virtual hosts for the ReactJS and GraphQL applications.

How to create virtual hosts in Nginx published by Anil Kumar Panigrahi
Virtual host for ReactJS custom application:
1 2 3 4 5 6 7 8 9 10 11 12 13 14 15 16 17 18 19 20 21 22 23 24 25 26 27 28 29 30 31 32 33 34 35 36 | upstream [Domain Name] { server 127.0.0.1:3000; keepalive 100000; } server { listen 80; server_name [Domain Name]; return 301 https://[Domain Name]; } server { listen 443 ssl; root [Document Root]; index index.php index.nginx-debian.html; server_name [Domain Name]; ssl_certificate [SSL Certificate File]; ssl_certificate_key [SSL Certificate Key File]; location ~* \.(?:manifest|appcache|html?|xml|json)$ { expires -1; # access_log logs/static.log; # I don't usually include a static log } location ~* \.(?:css|js)$ { try_files $uri =404; expires 1y; access_log off; add_header Cache-Control "public"; } location / { try_files $uri /index.html; } } |
This code will redirect the application domain from HTTP to HTTPS
Virtual host for GraphQL custom application:
1 2 3 4 5 6 7 8 9 10 11 12 13 14 15 16 17 18 19 20 21 22 23 24 25 26 27 28 29 30 31 32 33 34 35 36 37 38 39 40 41 42 43 44 45 46 47 48 49 50 | upstream [Domain Name] { server 127.0.0.1:4000; keepalive 100000; } server { listen 80; server_name [Domain Name]; return 301 https://[Domain Name]; } server { listen 443 ssl; root [Document Root]; index index.php index.nginx-debian.html; server_name [Domain Name]; ssl_certificate [SSL Certificate File]; ssl_certificate_key [SSL Certificate Key File]; location ~* \.(?:manifest|appcache|html?|xml|json)$ { expires -1; # access_log logs/static.log; # I don't usually include a static log } location / { proxy_pass http://localhost:4000; proxy_http_version 1.1; proxy_set_header Upgrade $http_upgrade; proxy_set_header Connection 'Upgrade'; proxy_set_header Host $host; proxy_cache_bypass $http_upgrade; } location /graphql { proxy_pass http://localhost:4000; proxy_http_version 1.1; proxy_set_header Upgrade $http_upgrade; proxy_set_header Connection 'Upgrade'; proxy_set_header Host $host; proxy_cache_bypass $http_upgrade; } location ~* \.(?:css|js)$ { try_files $uri =404; expires 1y; access_log off; add_header Cache-Control "public"; } } |
In this code also redirect the domain from HTTP to HTTPS.
Below code it redirect from HTTP to HTTPS
1 2 3 4 5 | server { listen 80; server_name [Domain Name]; return 301 https://[Domain Name]; } |
In the all the virtual hosts, [Document Root] is path of the application, 4000, 3000 are the ports of the applications, [Domain Name] is the application domain name.
Based on your application requirements then change the ports of your applications.


3 Comments
How to create virtual hosts in Nginx - Anil Labs · February 19, 2022 at 10:52 am
[…] In the next articles I am going to provide the code for below. Virtual host for ReactJS custom application: […]
How to install SSL certificate in Nginx - Anil Labs · February 25, 2023 at 2:46 pm
[…] to the provider to download the domain SSL certificates, and install those certificates into the Nginx web server […]
Install Symfony 5 with PHP 7.4 on Ubuntu with Nginx - Anil Labs · September 13, 2023 at 2:59 pm
[…] 7: In the previous post, we have learn about virtual host in Nginx, add the below statement in the […]